-cleaned with petrol and a paintbrush (time to stop smoking....)
- the frame had been protected with wax
- conncection rod bearings and crankshaft was checked by MR. Koch.
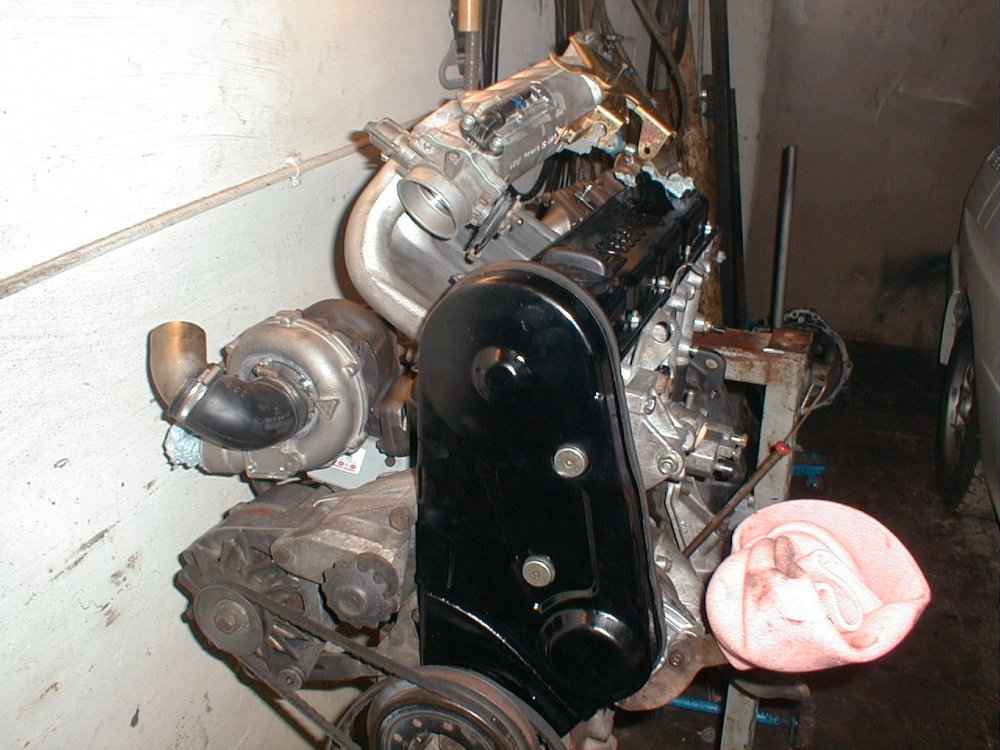
- new head gasket ,valves and their seats were milled.
- new 2 piece exhaust manifold.
- whole engine cleaned and some parts repainted (its worth the effort!)
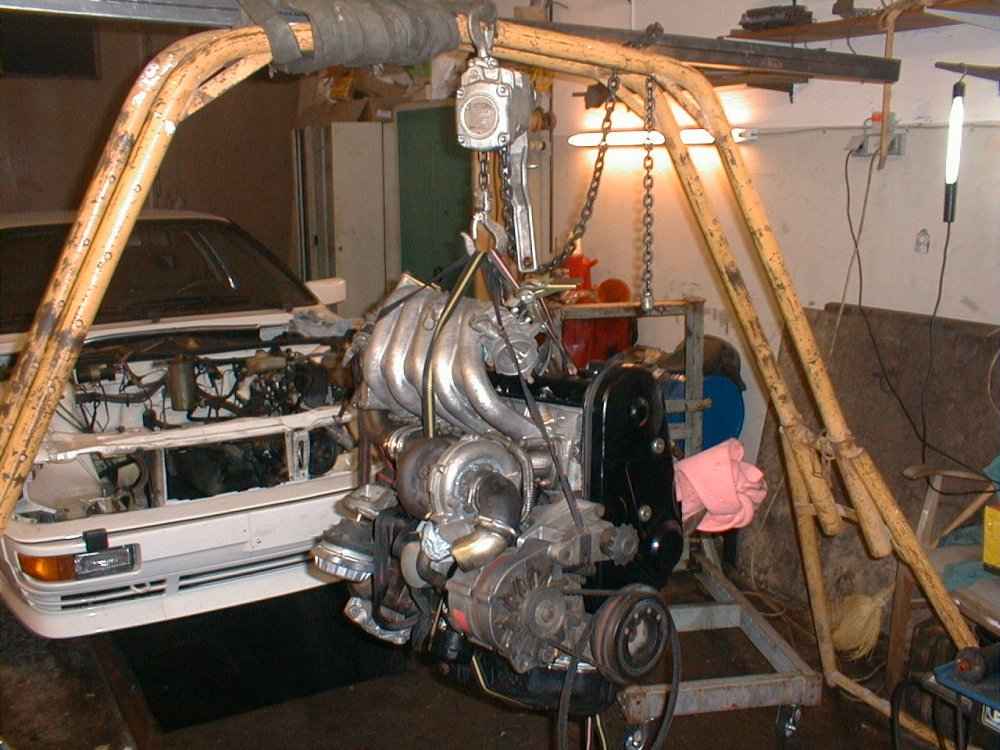
- engine is fixed with 3 tensioning straps, so its easy to balance it right
- lifted by a driving chain, very good to handle that wight!
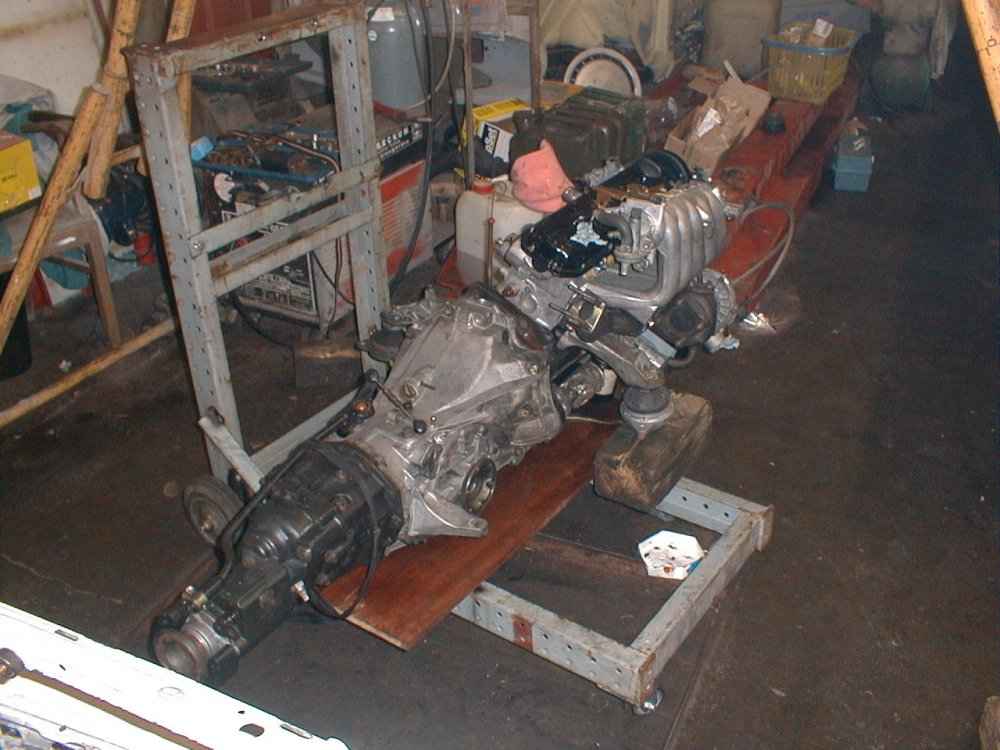
- with the engine on a wood plate its easy to push the gearbox back on the engine
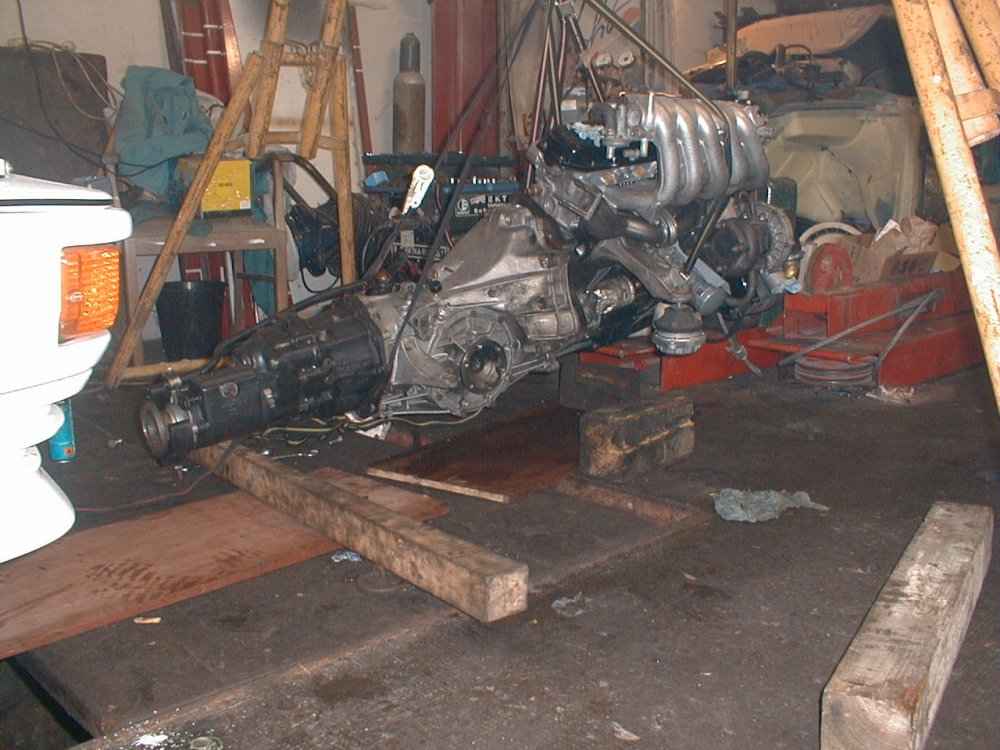
- the whole system is now ready for to get it back in the car.
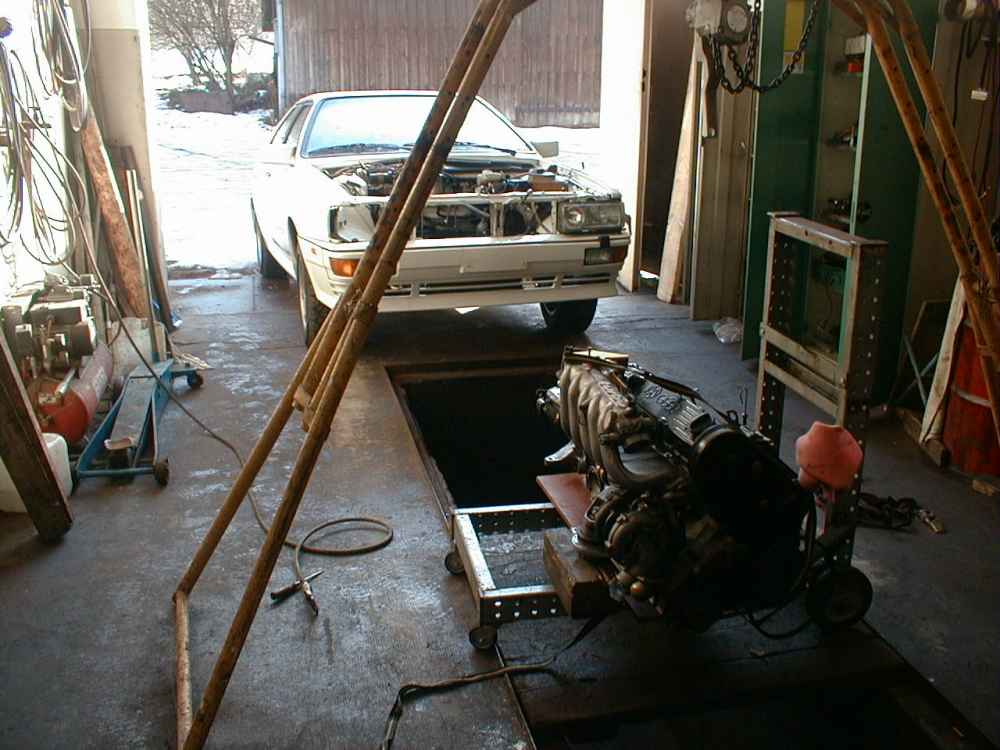
- engine and gear lying on the holder, pushed over the pit
- car is over the pit and lifted up
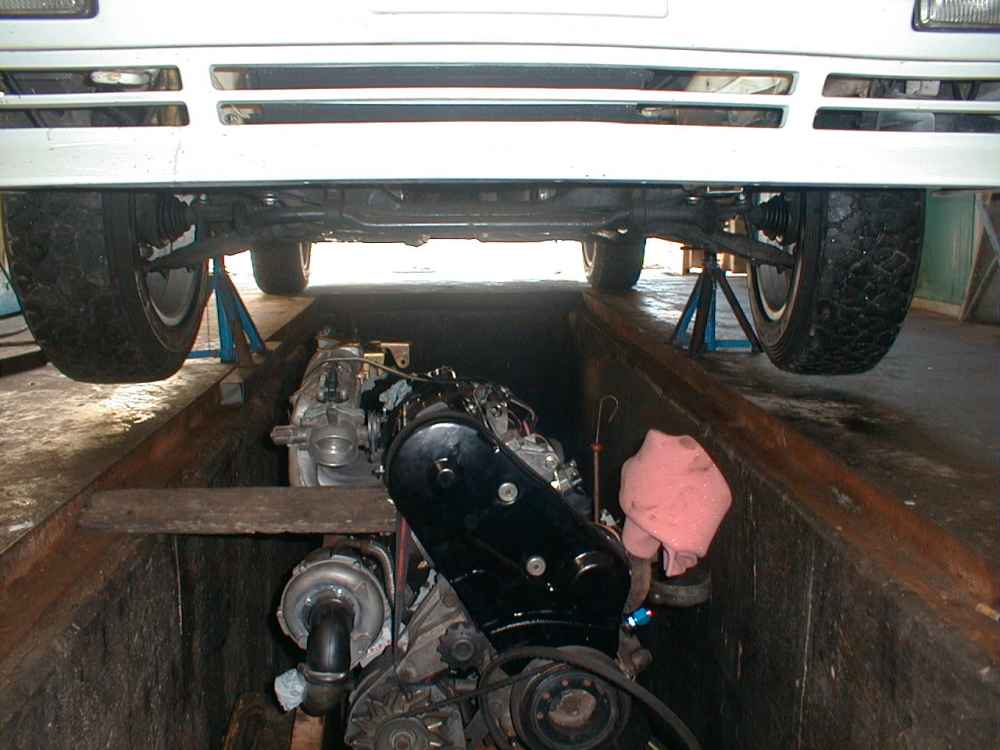
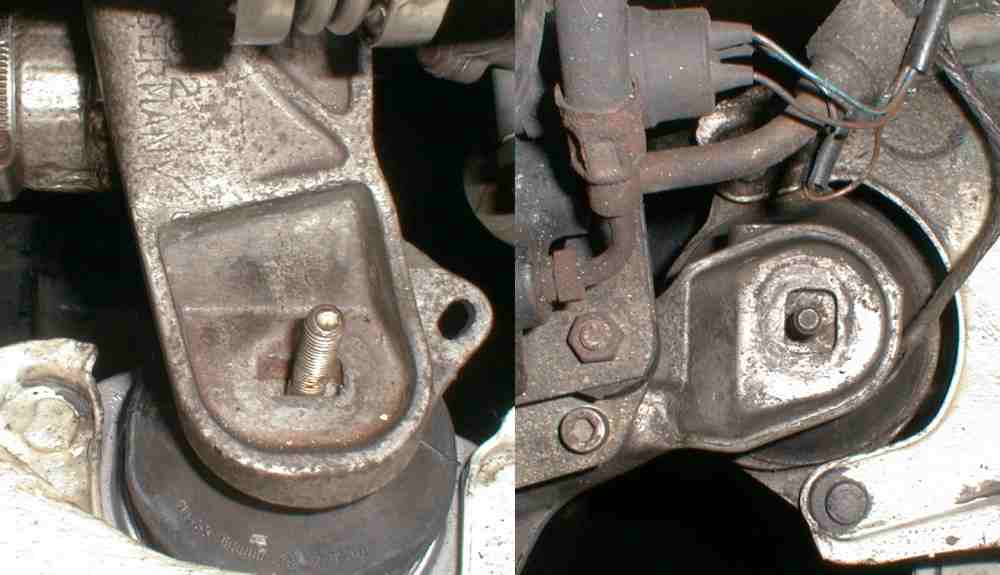
- axle support has to be removed
- engine has made half way into the bay
- axle support is removed
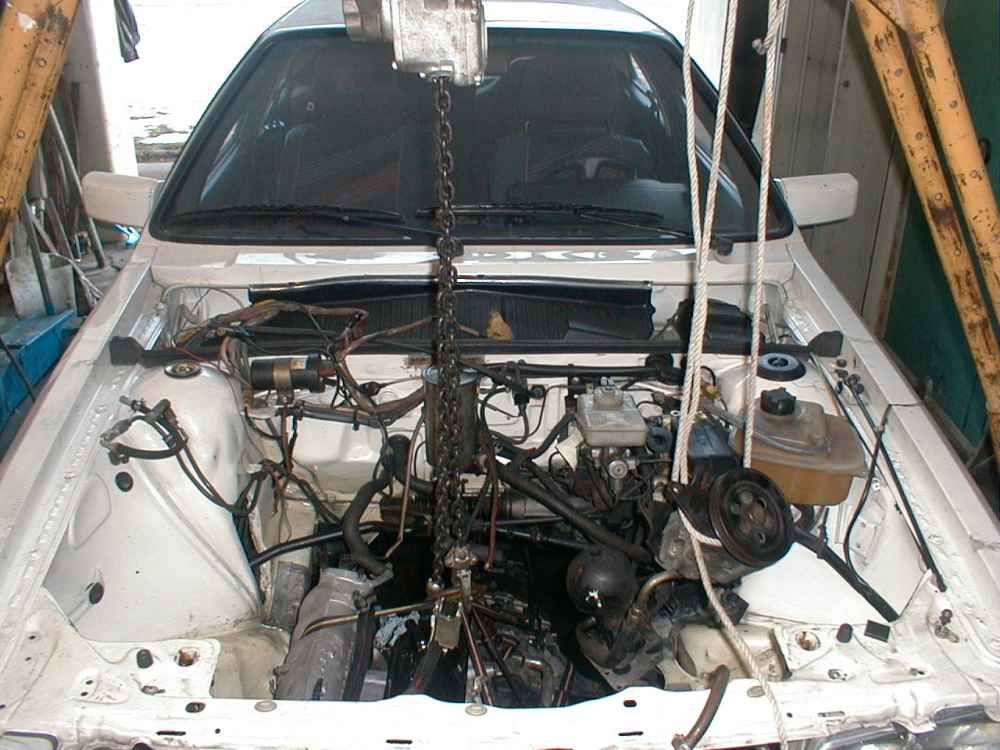
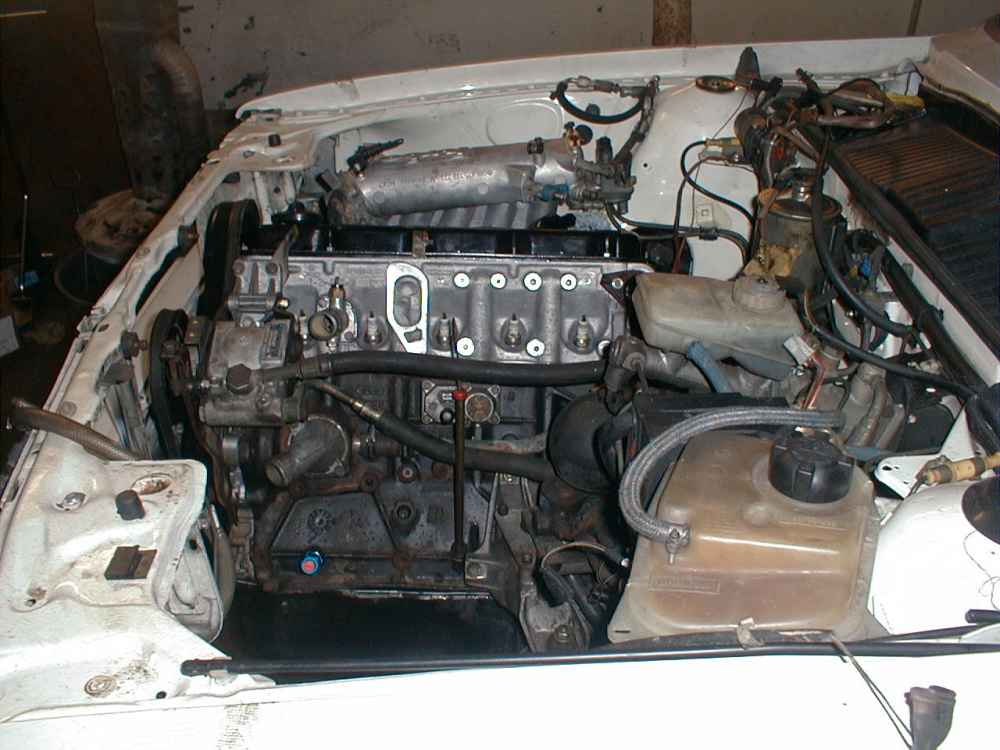
- engine is in its final position
- the propeller shaft gives the right ajustment for the engine
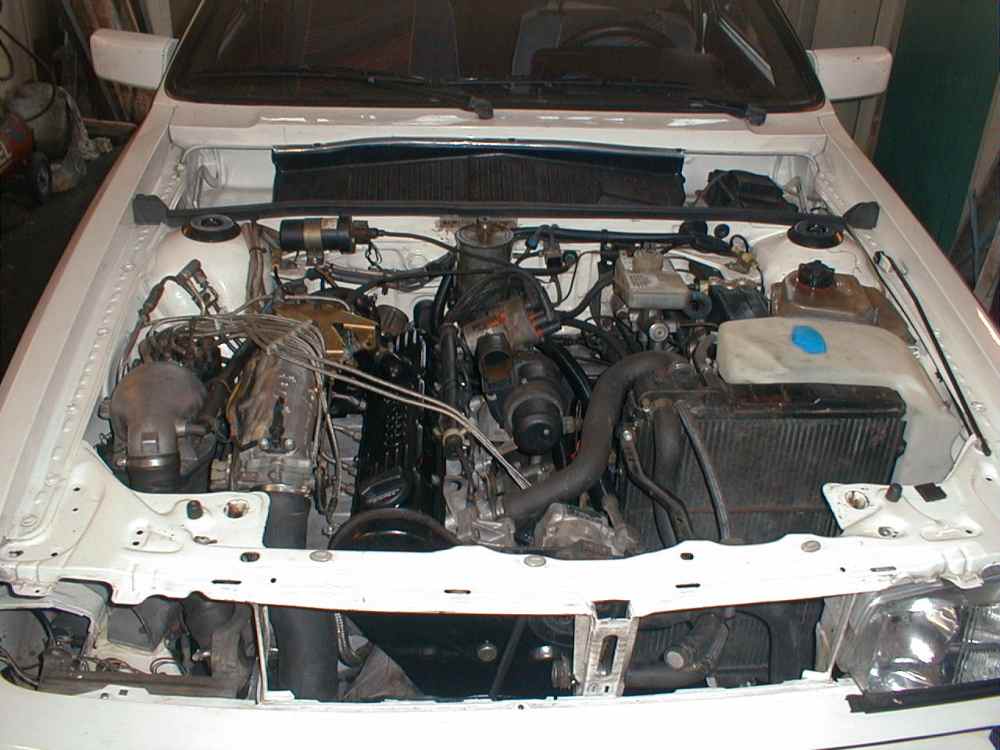
- its done!!!!!
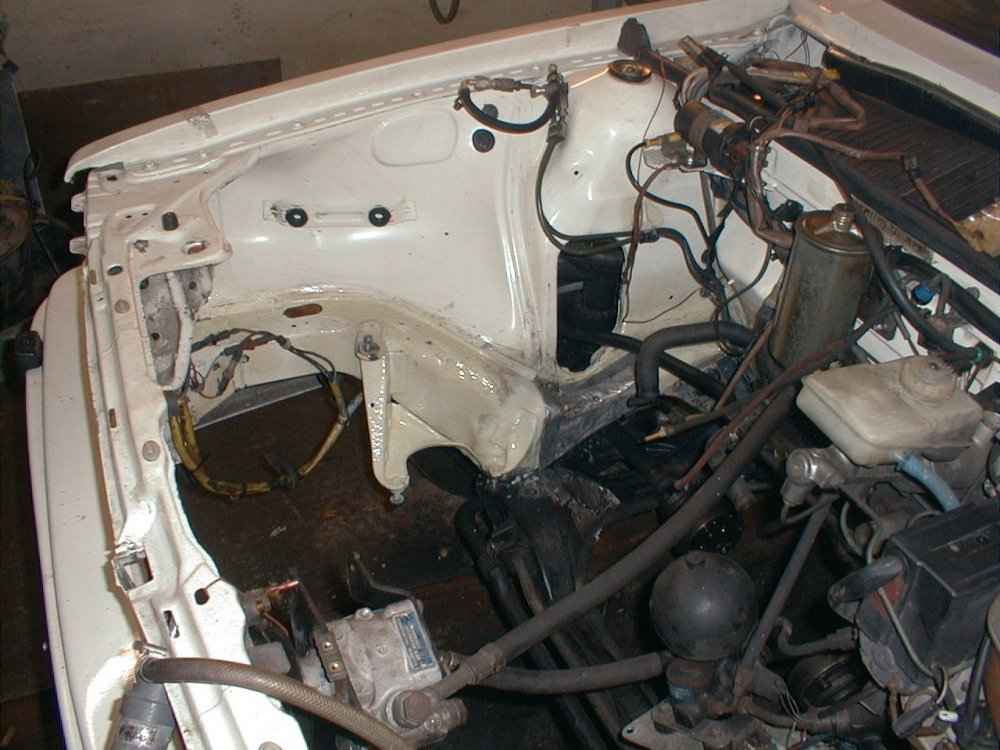
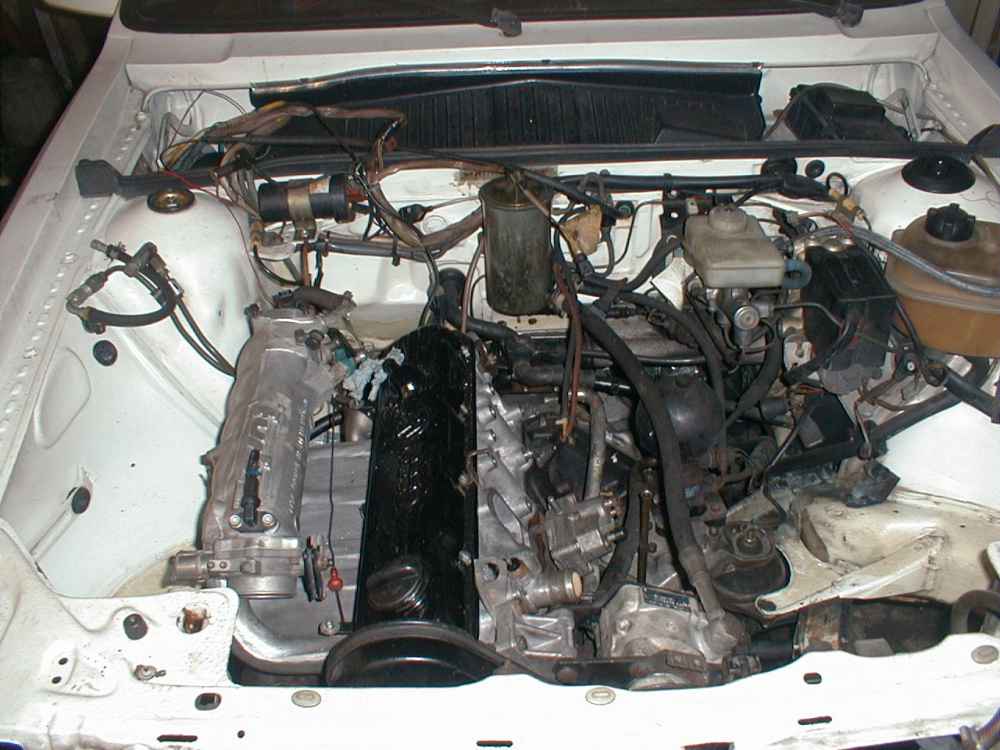
- injection system, radiator and so on ......
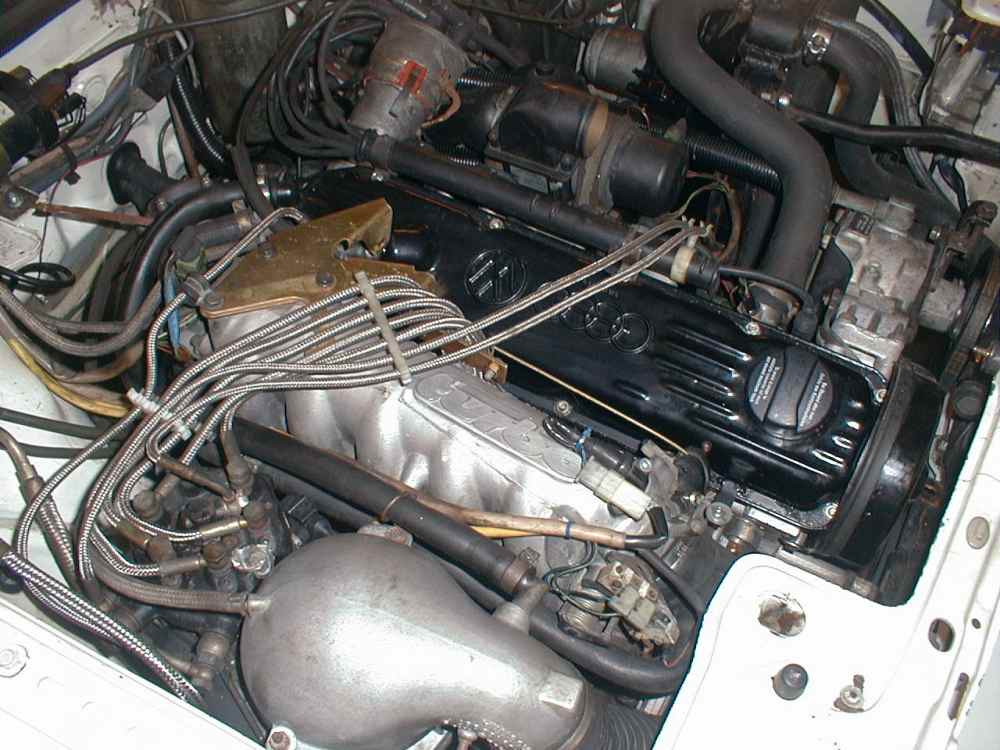
- looks good so far and its running well!!!
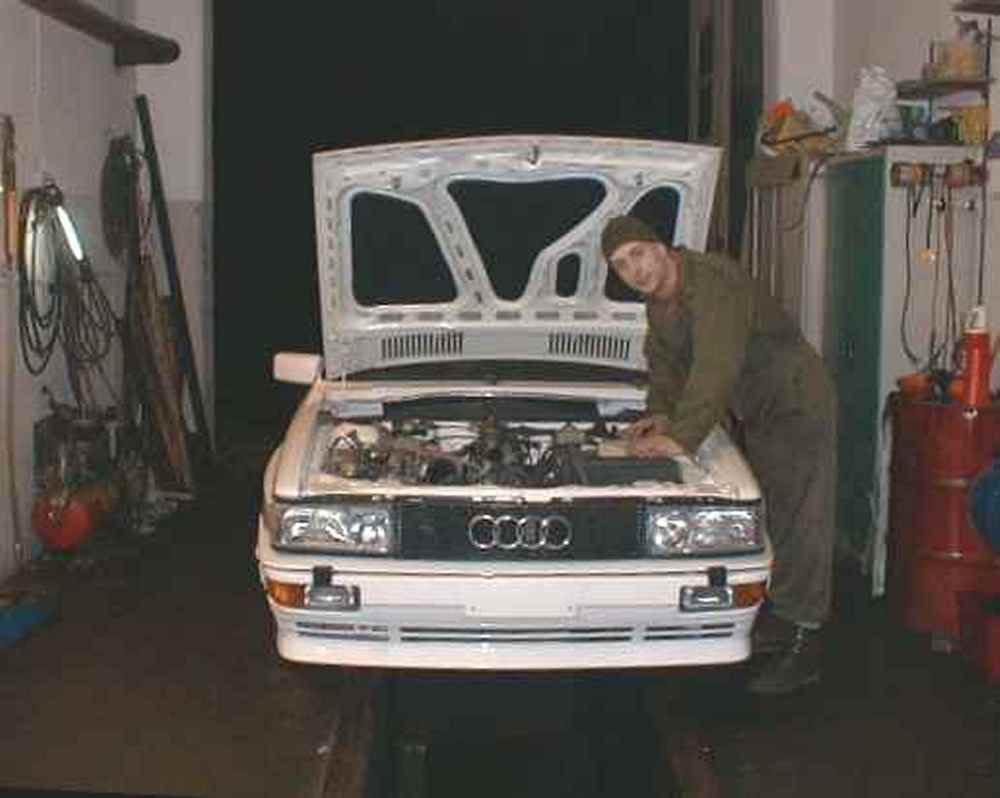
Engine hood mounted:
- time to check all nuts and cables, oil levels and so on.